ParkPow On Premise Setup Guide
This guide describes how to install ParkPow in your own environment. That way, you do not need to send ALPR data to our hosted ParkPow solution.
Installation#
Step 1: Install Docker#
Install Docker and make sure Docker is running.
Step 2: Install Docker Compose#
On desktop systems like Docker Desktop for Mac and Windows, Docker Compose is included as part of those desktop installs. So you may skip this step. To test if Docker compose is already installed on your machine, do the following:
docker-compose version
If you do not have Docker Compose on your machine, then download it.
Step 3: Download docker-compose.yml#
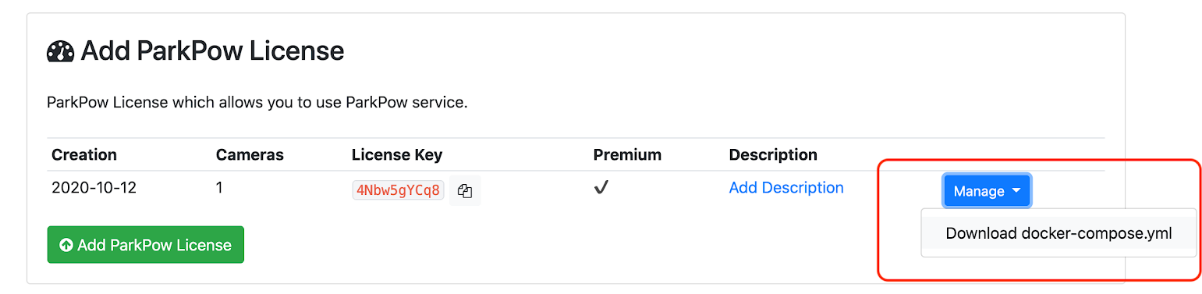
Login to Plate Recognizer and then go to your Account Page. Under ParkPow License section, click on Manage (blue button) and download docker-compose.yml. This file defines the services used by ParkPow and has your license information.
Step 4: Run docker-compose.yml#
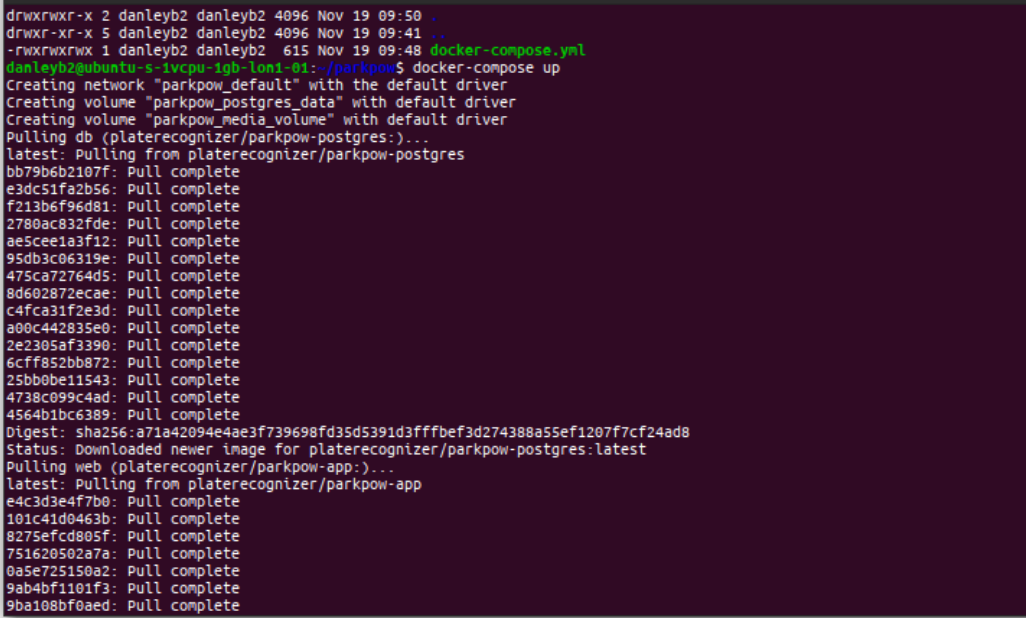
Open your command prompt (cmd for Windows) or terminal (for MacOs and Linux), go to your download folder and type the command:
docker-compose pulldocker-compose upThe following will execute:
tip
If you are behind a firewall you might also need to whitelist these IP addresses
Step 5: Access On-Premise ParkPow#
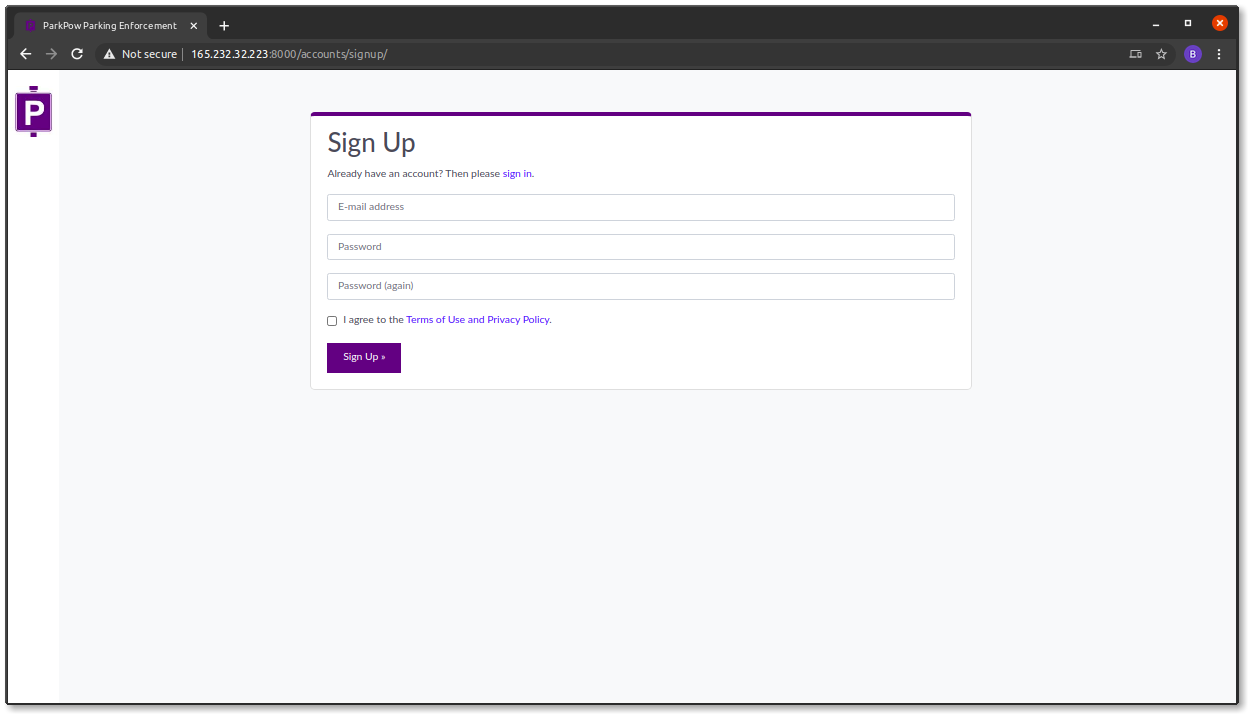
You can now access the ParkPow Dashboard on: http://local-or-public-IP:8000/
You can create an email and password login for this On-Premise ParkPow. Please note that this login is only to access this local instance of ParkPow. This login does not necessarily need to be the same as your Plate Recognizer account or your online ParkPow account.
After you create the login, you will have access to the dashboard.
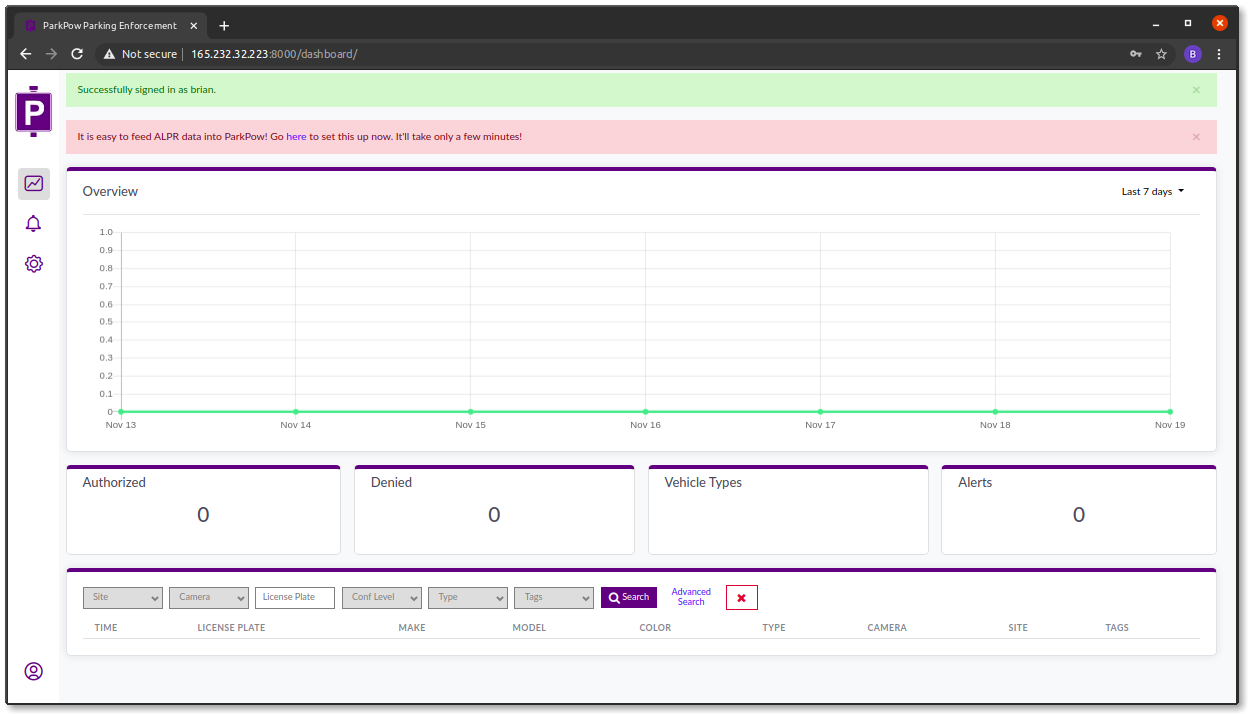
Step 6: Send ALPR Info to On-Premise ParkPow#
Now that you have ParkPow set up on your local machine, you can forward ALPR data from Stream, Snapshot or another ALPR solution over to ParkPow.
Follow the steps here to feed ALPR data into this on-premise version of ParkPow.
You’re done!
Uninstalling, Moving On-Premise ParkPow#
The On-Premise ParkPow can be deployed on a single machine. If you wish to move the On-Premise ParkPow onto a different machine, you will first have to uninstall it from the original machine and then install it on the new machine. Follow the steps below to uninstall On-Premise ParkPow.
Step 1: Click Uninstall#
Go to http://local-or-public-IP:8000/uninstall/ and click the ‘Uninstall’ button.
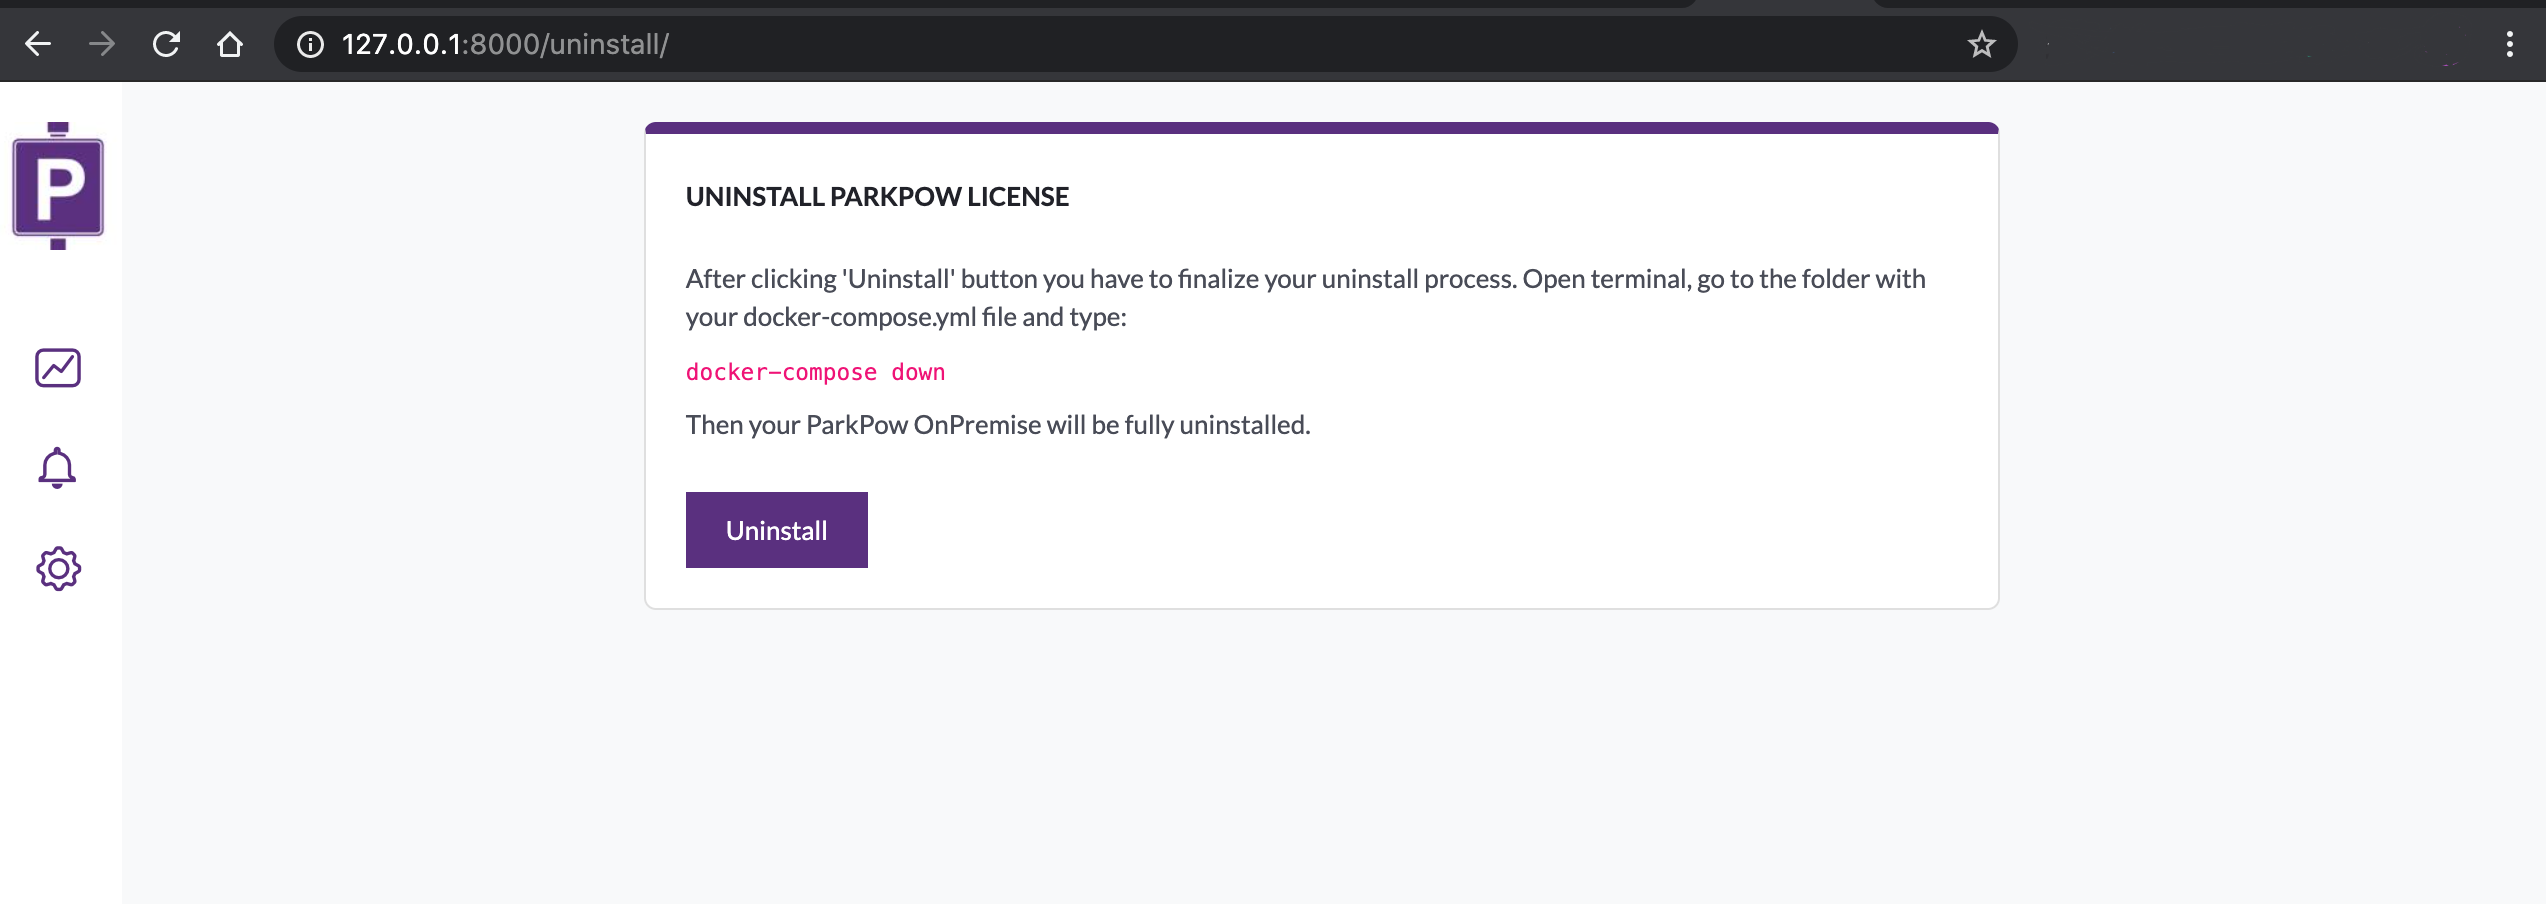
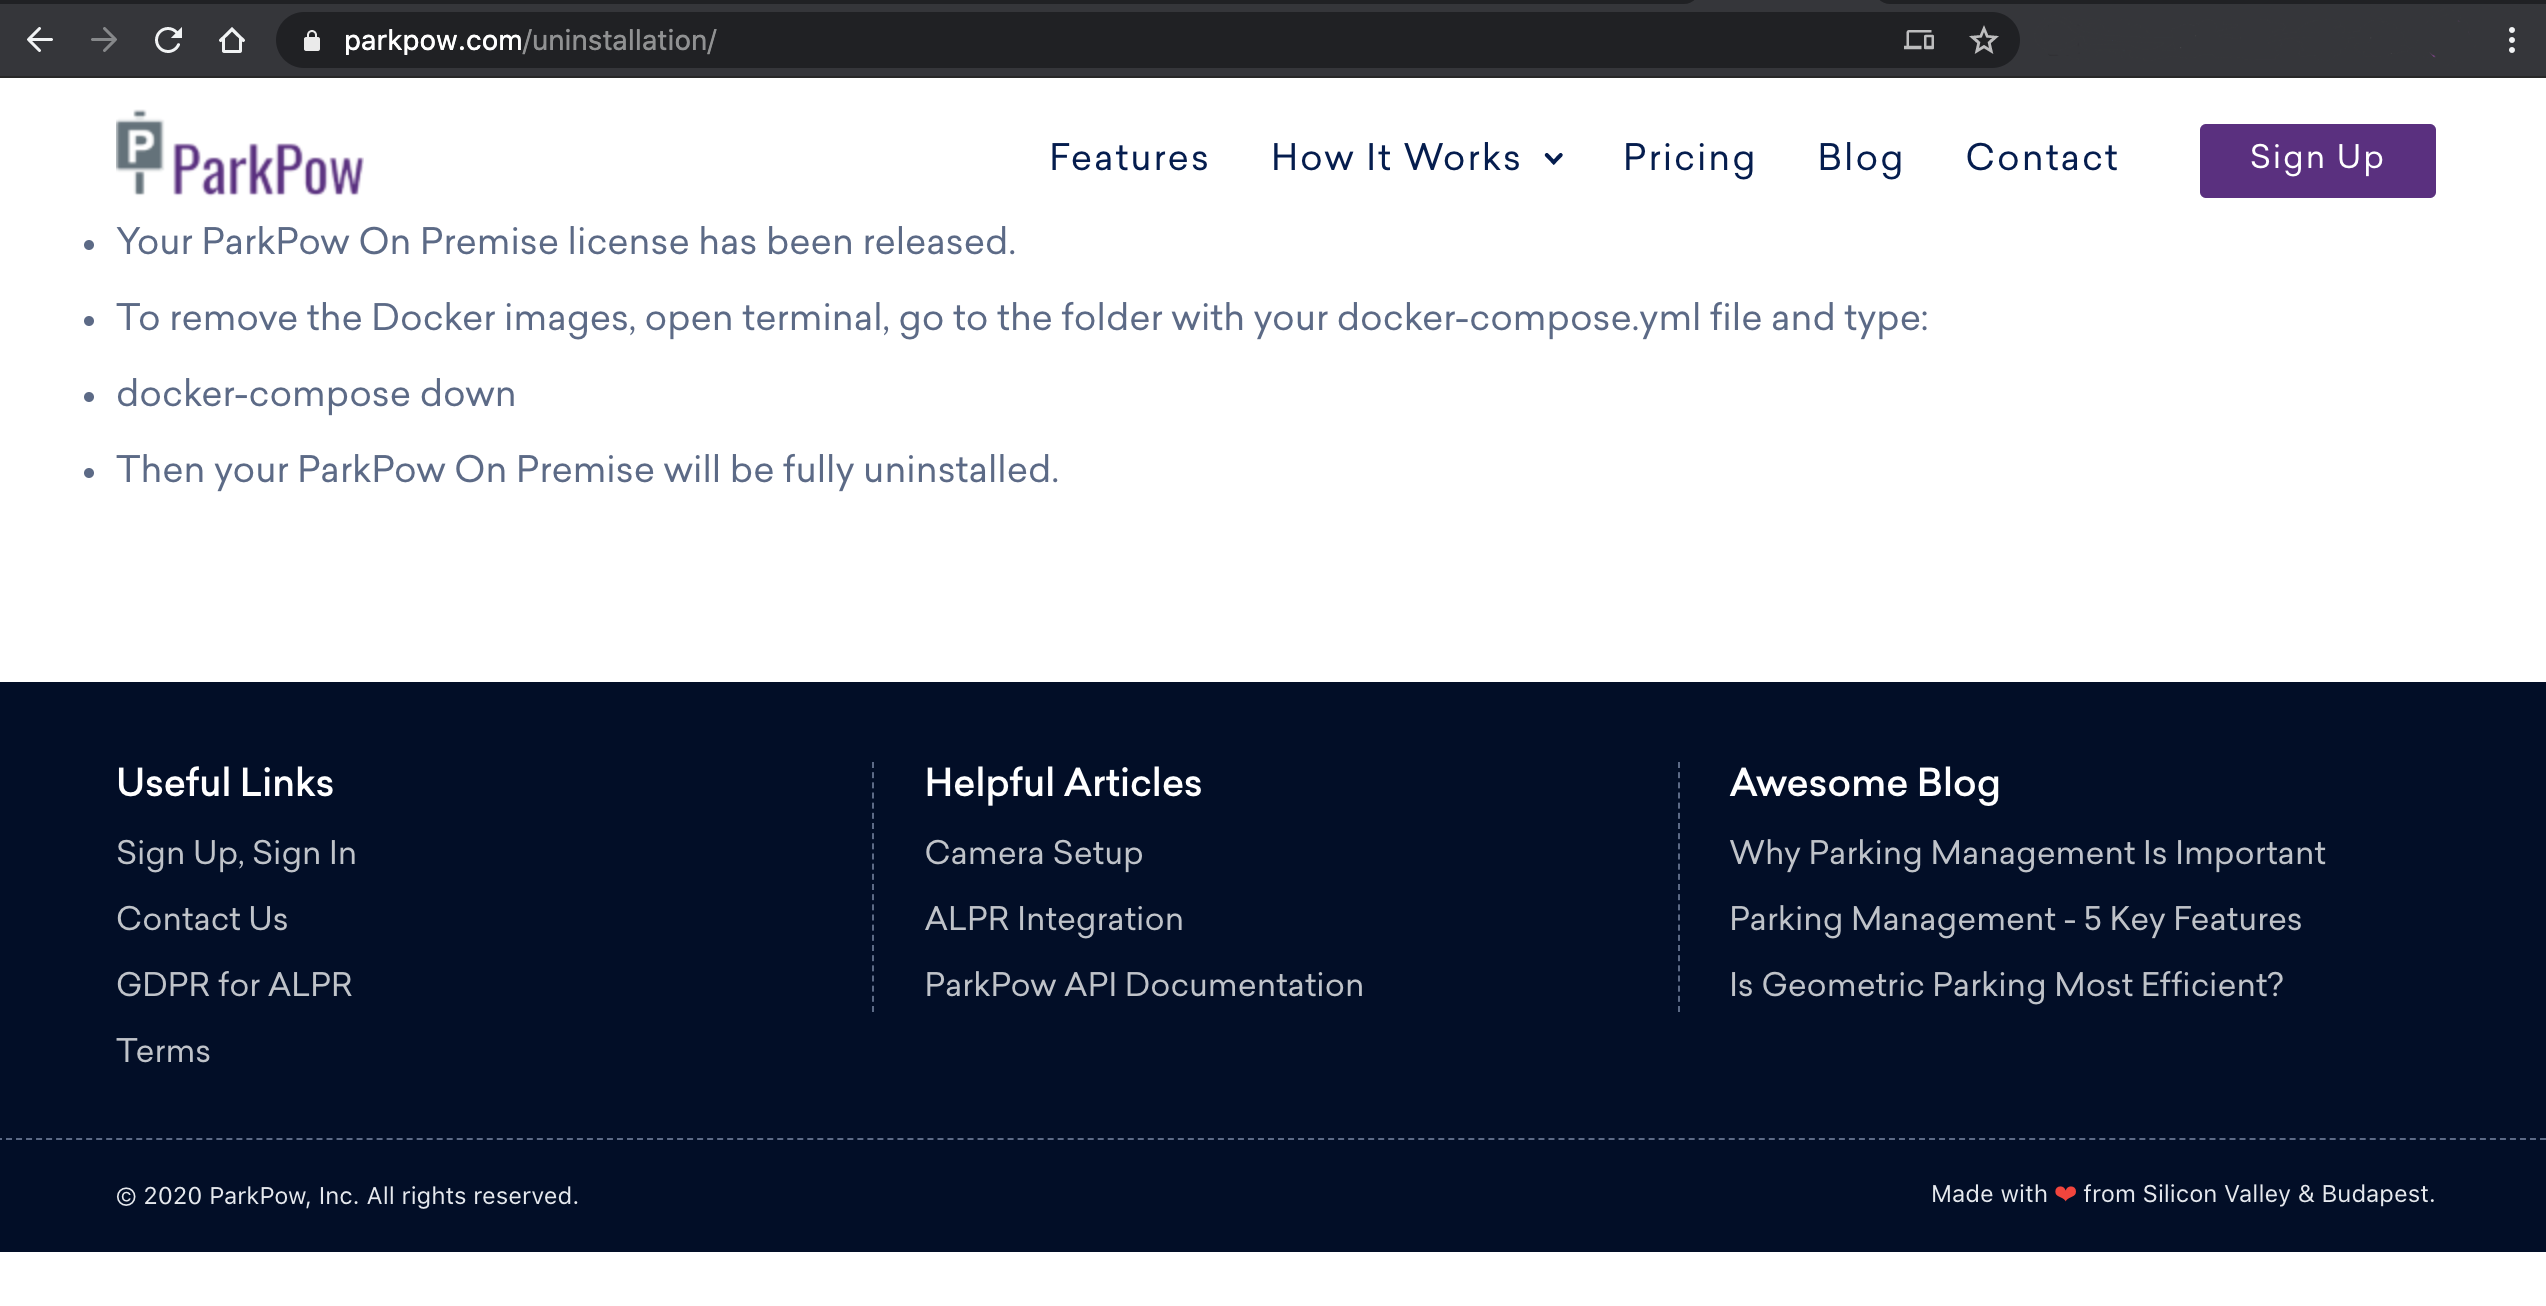
You will be redirected to https://parkpow.com/uninstallation to finalize your uninstallation.
Step 2: Finalize Uninstall#
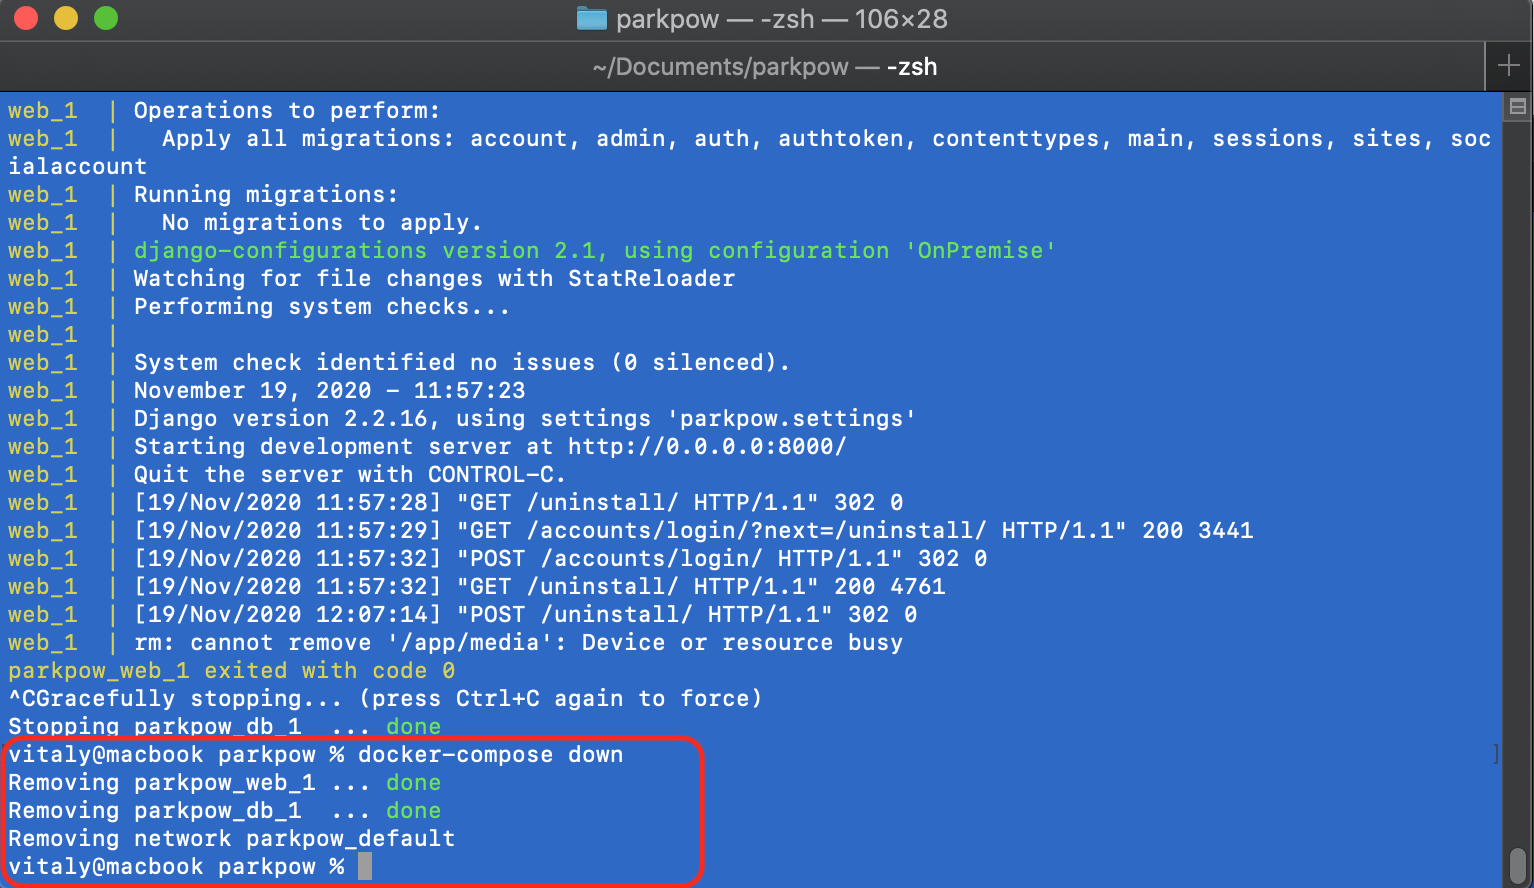
To finalize uninstallation, open terminal, go to the folder with your docker-compose.yml file and type:
docker-compose downdanger
Don’t do docker-compose down before Step 1, because your ParkPow license will be considered as installed.
Upgrading to the latest version#
Step 1 Uninstall the product#
To uninstall your product do all these steps.
Step 2 Install the product again#
Repeat the installation from step 3.
Troubleshooting/FAQs#
How do I change the Server Port?#
- In a terminal, go to the folder where docker-compose.yml is located.
- Run the command
docker-compose stop - Open your docker-compose.yml with any text editor and find the line - "8000:8000".
- Change the first number to the desirable port (example: "8088:8000") and run:
docker-compose up - Run the command
docker-compose up - Now your On-Premise ParkPow will be available on http://local-or-public-IP:8088/
How do I update On-Premise ParkPow?#
Upgrading to the latest version
How can I configure On-Premise to automatically start?#
- In a terminal, go to the folder where docker-compose.yml is located.
- Run the command
docker-compose stop - Edit docker-compose.yml with any text editor and uncomment the lines with the restart policy:
... image: platerecognizer/parkpow-postgres restart: unless-stopped... image: platerecognizer/parkpow-app restart: unless-stopped...- Run the command
docker-compose up
How do I change SMTP email configuration?#
- In a terminal, go to the folder where docker-compose.yml is located.
- Run the command
docker-compose stop - Open your docker-compose.yml with any text editor and change appropriate parameters:
DJANGO_EMAIL_HOST=smtp.example.com DJANGO_EMAIL_PORT=25 DJANGO_EMAIL_HOST_USER=user DJANGO_EMAIL_HOST_PASSWORD=password DJANGO_EMAIL_USE_TLS=True- Run the command
docker-compose up